Showing posts with label Crafts. Show all posts

23 October 2013

Cadence and Hue - A Knitting Pattern


Drum roll please....
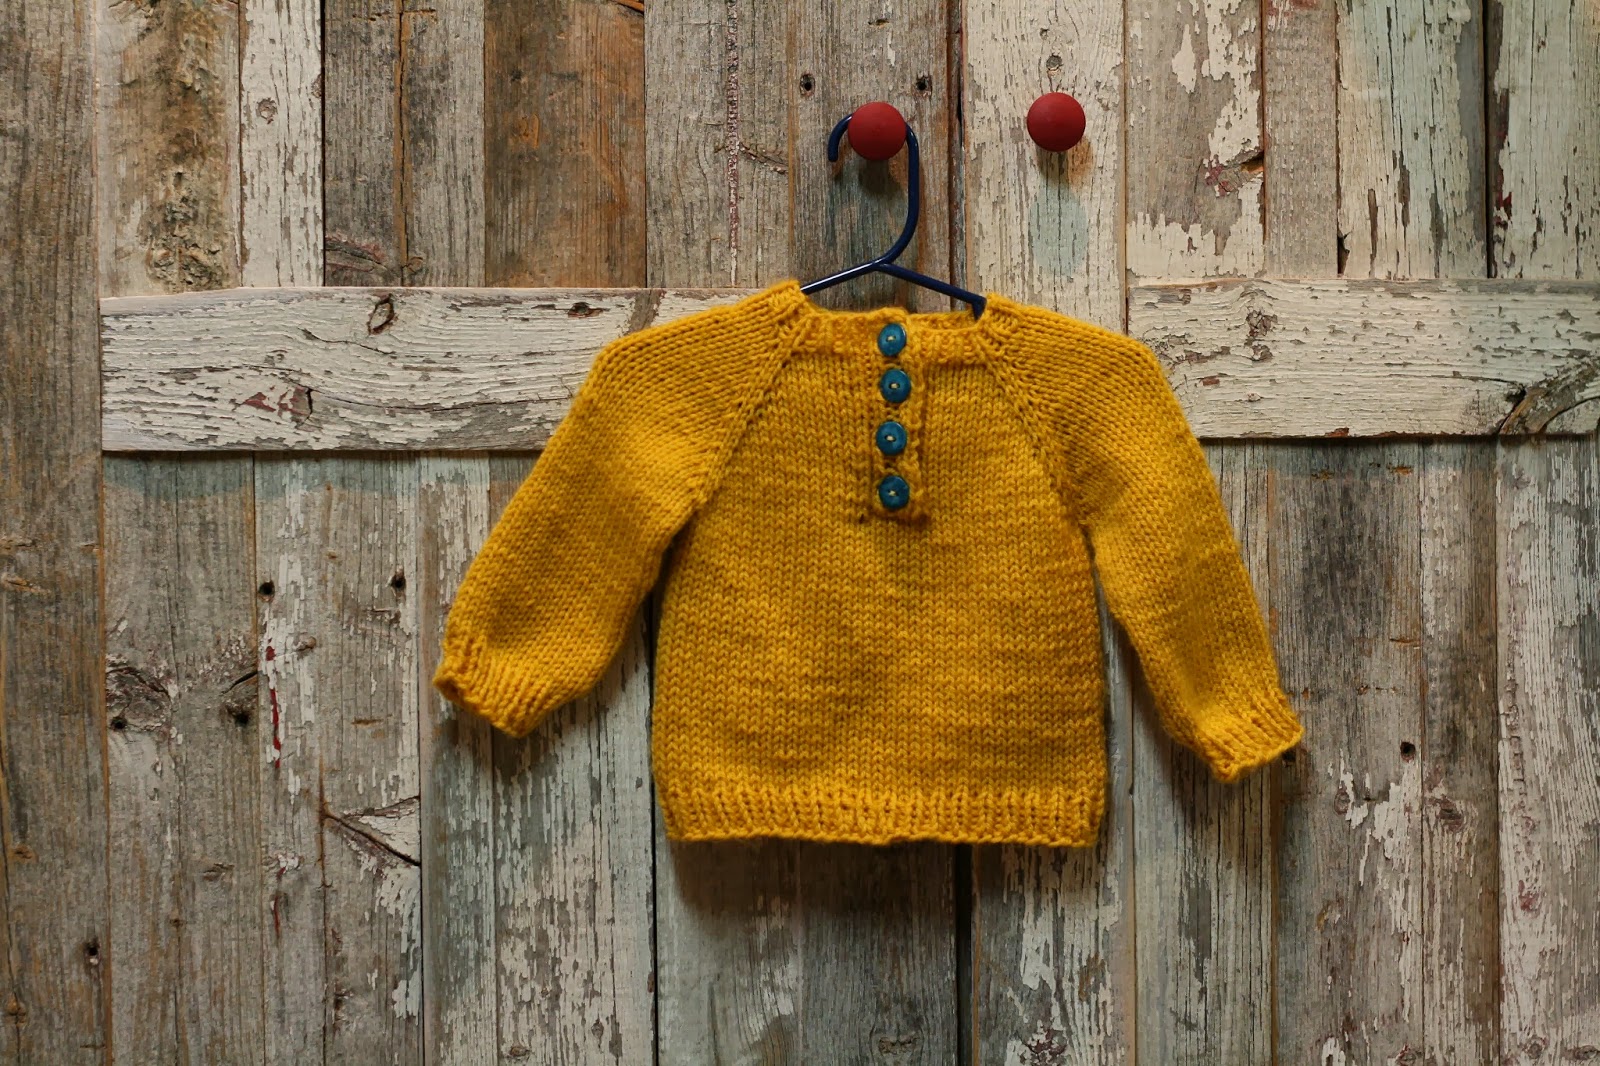
Ladies and gentlemen, here you have it. The latest pattern from Jenny Wiebe Designs - Cadence and Hue!


This one is generously sized, ready for practically any child on your gift list from a preemie to size 10. 
It's knit with DK weight yarn, and can be accessorized with the most darling of buttons.  

It's seemless, it's knit top down, it's got fantastic striping possibilities!!!

So, what's stopping you?!?  At just $4, you really do need to just !


If you aren't convinced, check out all the projects made by my fabulous test knitters and others right here:  and check out all the pattern details on Ravelry: Cadence and Hue.


01 October 2013

Walton Pullover - A Knitting Pattern

Last year I knit my dear friend, Adrienne, a monster sweater. I only say monster, because before that sweater I had only ever knit children's items - so anything in adult sizing, naturally, felt monstrous. With the remnants of yarn from that sweater I decided I needed a fun, easy project, and so came my Walton Pullover.


It's a super simple raglan pullover, sized for children from 6 months to 8 years old.  While my striping pattern is all laid out in the pattern, you can always get creative and come up with your own: its a great stash buster, or the perfect pattern to use up those yarn ends.

This one was knit in Malabrigo Merino Worsted, the most wonderful, soft, beautiful yarn.  But, any worsted weight yarn will do.

As always, I had a handful on knitters test knit my pattern.  I honestly couldn't live without test knitters! You can check out their projects and any others here:      They did such a great job of their sweaters.

This would be a perfect, easy, first project for a novice knitter, but an excellent template for a more adventurous knitter wanting to experiment with different colorwork designs.

The pattern can be purchased for only $4 on Ravelry, or you can buy it right now by clicking here: 

08 May 2013

Big Thom - A Knitting Pattern

After knitting Thom with a "TH" for Tommy, I knew I needed to knit one for one of mine. So, I sized it up and made one for my Si.


He calls it his "Rock Sweater" because of the buttons. I call it Big Thom. This one is sized for age 4 - 12, knit completely seamlessly from top-down, and would be so easy to embellish in any way you want. 


The best part is, if you like Big Thom and Thom with a "TH" , you can buy one and get the other for just a dollar!  In Ravelry, just add both patterns to your cart, and use the coupon code "onedollarthom." If you are just interested in this one, go ahead and click here >>> 


As always, check out the other sweaters knit from the Big Thom pattern.

08 April 2013

Thom with a "TH" - A Knitting Pattern

Despite the craziness of my life, I have managed to do a little knitting. I know, you all are calling my bluff - a "little" is a bit of an understatement.

Anyway, I've put a few patterns out there, so I will be rolling them out on the blog over the next few days.

The first one is a sweater I designed for my nephew, Thomas Russell. 

I call it Thom with a "TH"


One of my favourite things to do as a knitwear designer is run test knits. For this sweater I had test knitters from across the world, as far as England, New Zealand, Australia, Belgium, Norway, Germany and Lithuania, and also had neighbors to the south, in Nebraska, Minnesota, Pennsylvania and Utah, and two fellow Canadians, from Montreal and Sudbury. Check out their projects and more here: 

Thom with a "TH" is easy, and cute, and can be embellished in so many ways.

So, for $4.00 you can !!!

18 February 2013

Love Day


 I know Valentines Day is over, but I did want to share my cute wreath before I take it down and put it away for another year. I had my Christmas wreath still up at the beginning of February, so I decided I had better replace it before Valentine's Day. I went on Pinterest to find a brilliant idea and headed to Michael's with a vision of the greatest Valentine's wreath EVER.  The problem with having your heart set on something you see on Pinterest is that somehow other people have access to materials that no matter how hard I try, I can't seem to find.  I had three wreaths in mind and I couldn't find anything to make them with.  So, mustering all my creativity (not really), I bought a pre-made heart wreath and a wooden dowel and headed for home. At least I'd get something up before Valentine's Day was gone.  I painted the dowel white and while it dried I made the heart arrow and feather out of felt.  I cut out the heart, hand stitched with embroidery floss all around it, except for where the dowel would go in, stuffed in a little bit of polyfill, and squeezed in some white glue to stick it to the dowel.  Then I popped it on the end of the dowel and  jabbed the dowel through the wreath.  To finish it off I glued the "feather" onto the other end of it.  Perhaps not the masterpeice I had envisioned, but I promise that it was better than leaving the Christmas wreath on for another month!


Okay, this picture is only wonderful because of my sweet Silas hiding in the window.  Love that boy!


15 January 2013

On the First Month of Christmas...

What? Christmas is over?!? But did you know what? It's now only 12 months away.  Did you hear me people? 12 months!!!

Every year I hit November and realize how much I want to get done for Christmas and don't ever have enough time to do it.

2013 is going to be different. This year I am going to think ahead, prepare, do things differently. 

So, for the next 12 months I am going to finish at least one thing for Christmas every single month.  I have more than enough unfinished, untouched crafts in my basement to fill all 12 months, but more than that, I am going to try to get presents finished, planning done, and even a little money saved so that when Christmas comes around again I will be ready!

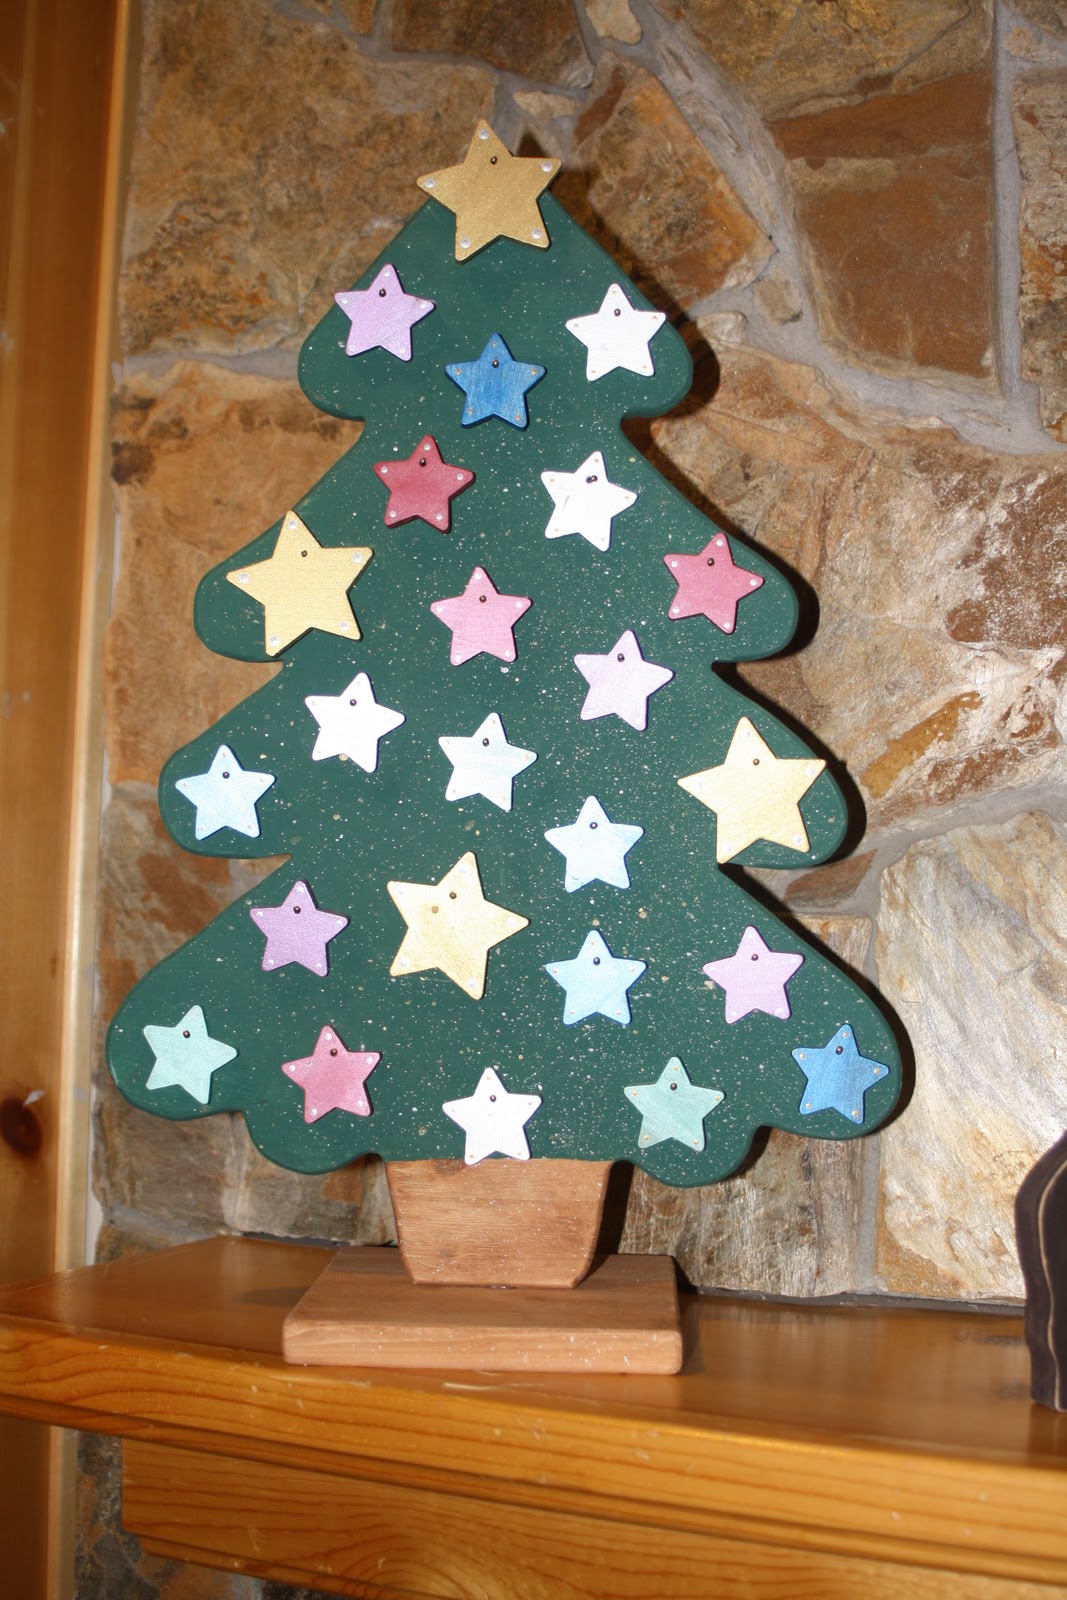
So, on this, the first month of Christmas, I competed one lovely Christmas decoration which will so beautifully deck my halls next Christmas season:


Here's to the next 12 months of merriment and joy.  I've got plans for a beautiful season next year, and a whole lot more room in my craft room as I clear out all the half finished and broken decorations. 

Merry Christmas to all in 2013!

18 September 2012

I do not like them, Sam-I-Am. - DIY Refinished Dresser

Although it may be hard to believe, occasionally I put down my knitting needles.  Usually I spend the needle-less time cleaning my house or feeding my children, who always seem to want to eat just a few hours after I have just fed them.  I just gave you food, yesterday! But, this week I neglected the house (don't worry, I did feed the littles) and finished a project long in the making.

You see, shortly after Atticus was born I began frantically looking for a dresser for him.  The poor boy needed very little coming into this family of boys. We had all the clothes, all the toys, all the diapers, all the everything that any little boy baby could need.  But, my poor sweet boy did not have a place for all the everything! We only have two dressers in our house, one for me and one for the boys.  Everything else is stuffed into closets. So, in those days after his birth when I was sitting around enjoying my baby I desperately searched for a new dresser for him so that his clothes and diapers didn't need to sit in a laundry basket on the floor permanently.

I found this cool old dresser on Kijiji for $60. I sent my wonderful husband out late one night after work to pick it up, because I NEEDED it, right then!!!  (Have I mentioned lately that I love that man? Because I do!) I wish I had taken a before picture, but I didn't.  The dresser was well over 100 years old and in pretty rough shape.  The drawers were falling apart and there scratches and gouges all over the surface.  If it had been a family heirloom I may have tried to keep it in it's original state, but it wasn't, so I told Jared my vision of what I wanted it to become and left it at that. And, there it has sat for four months in our garage. (Did I mention how desperately I needed the dresser?) 

Then, this summer while I was away in Sandpoint, Jared got busy and finished it for me. He's a dream!


Maybe you cannot appreciate the transformation, but it is amazing.  It was unpainted, with a solid wood top.  He stripped the whole thing, glued together the drawers, took off the top and made a new one, repainted, stained the top, and put back on all the hardware.  Love?  Yes!

But, one problem still remained.  While the drawers were definitely more solid, they were still very gross.  Check this out:


They were stained and dirty, and not a place I wanted to lay my baby's wardrobe.

So, with all my creative powers combined, I refinished the inside of the dresser, and here's what I came up with:


Okay, the sides of the drawers could use a little love, but honestly, I'm totally in love and may just cut up all my Dr Seuss books and Mod Podge my entire house!

That's right. I cut apart an old copy of Green Eggs and Ham and with a whole pot of Mod Podge I lined the drawers (after I painted the sides a bright yellow, which I love!)


I may or may not have opened and shut the drawers about 30 times today, waking Atticus from his nap once just to take a peak inside those drawers! And, putting away laundry has never been so rewarding, I promise.

23 February 2012

Busy Bag Bonanza

So, in an attempt to get some crafty things done (besides knitting) before this baby comes, I am hosting a Busy Bag Bonanza in a few weeks.  Basically, every person comes with enough supplies to make one of the same busy bag for each of the other guests.  That way each momma will leave with as many different busy bags as there are people at the party.  I already have 11 people confirmed coming, so I should be stocked!  I figure busy bags will be perfect in those weeks after the bean within is born.

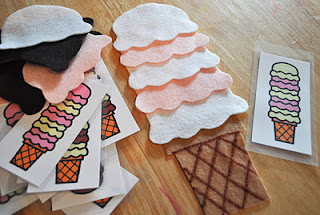
I've been asked what a busy bag is, and basically it is a small craft/activity contained in a bag, ready to be brought out to entertain kids at a moment's notice.  I think it will be great to have one or two in my diaper bag, and bring a few to church each week.  I'm excited to see what other mommas come up with, but as I've been searching, here are a bunch that I think are fantastic:


There are seriously so many more out there, but these are a few that are inspiring me. I could go on, and on, and on. Here's a link to my ever growing board on Pinterest devoted just to busy bags.  I'm liking the more educational ones: colour matching, counting, letter matching, etc. I also, no surprise, like anything made with felt.  I love felt.

So, here's to the Busy Bag Bonanza!  If you live near me, and you'd like to partake, join us on facebook:
Busy Bag Bonanza!

20 June 2011

Tutorial: A Birthday Shirt

Did you notice the shirt Eli was wearing on his birthday?  Well, let me refresh your memory:
I didn't think he would like it so much, but he wouldn't even put his pirate shirt on because he "loves the shirt that says I'm four."  He wanted to wear it the next day too, but apparently when I made it I forgot that no woman in her right mind would make her four-year-old a white shirt for his birthday, however cool it is?  I should have picked the blue shirt.

The shirt was so easy to make. The t-shirt cost me only $6 at H&M, the fabrics for the applique were just scraps from the Black Apple Dolls I made last year. I am going to make one for Silas's second birthday - I just have to find a plain blue shirt in his size.

Okay, let's get started:


Stuff you need:
- plain t-shirt (beware of white!)
- 2 contrasting fabric scraps
- a lightweight, double sided, fusible interfacing - I use Heat'n Bond Lite
- sewing maching


Take your shirt, fabric and interfacing. You will use a lot less fabric if you cut out your fabric shape and the interfacing first, and then very carefully iron the interfacing to the wrong side of the fabric.  Otherwise you can iron a large square of fabric to the interfacing and then cut the shape out of both.  Because I was using scraps I did it the first way and just trimmed the edges afterward.  So, once you decide which way you want to do it, pick a shape, any shape, and using one fabric, cut that shape out.  My circle was precisely the size of that nice yellow record sitting beside the t-shirt.  You could cut out a star, a square, even a trapezium if it suits your fancy.  Any shape will do.  Out of the second fabric cut a number.  I just drew mine freehand, but you could blow up a number in Word and use it as a stencil.


Peel the paper backing off the interfacing and iron the shape to the centre of your t-shirt.  


Using a matching thread and either a applique stitch or a zig-zag stitch, sew along the entire edge of your shape.
Iron your number anywhere onto your t-shirt and sew it onto the t-shirt too.

 And that's it.  You're done.  Your kid will never forget how old they are again (and neither will you)!  Enjoy.

09 April 2011

Oh Bed! Oh Bed! Delicious Bed!

You know those people in the world that you can't help but love?  Well, my sister-in-law Renee and her daughter Rhiannon are two of those kinds of people. We love them!

This week Rhiannon turned FIVE, and today was her birthday. Because we love her so much, and because she deserves to be spoiled more than most five-year-olds, and because I don't have a little girl to make girly things for, Rhiannon got the spoils of my crafty labours this month.

Working late into the night last night to get it finished, this is what we brought to her party (and when I say "we" I actually mean "I", due to the pox and all):

Could you please all fall over right now with awe?!?!  Seriously, I MADE that!!!  I don't believe it myself, I promise.  But, I have proof:


Okay, that's not proof at all, it's just a picture of me holding wood while Jared's dad is doing stuff and then a finished product, but let me assure you that I did, in fact, with a little help from my father-in-law, make this bed from scratch.  And it only cost me $17 (and two finger tips, which I sanded off on the belt sander.)


All right, that also proves nothing except that I'm really good at putting bandaids on, but I didn't want to gross anyone out with my lack of finger nails. Just trust me on this one people, it was gross.

Anyway, the moral of the story is that Rhiannon is amazing and I hope that her fifth birthday was awesome, and that her next trip around the sun is even more incredible than the last.  And the other moral is that I made that bed.  I did.


The plans for the bed came from Ana White and were awesome.  I'm never going to buy another piece of furniture again, I'm just going to make it all.

14 February 2011

Killing Myself With Romance

While Jared and I are definitely madly in love, we are not really big on the gushy, romantic stuff.  We have often decided to forget about birthdays, or we just go out and buy our own presents and then call them our birthday present.  I bought Jared a pretty awesome mic for his birthday this year that I caught a quick glimpse of after he bought it for himself.  What a good wifey I am!  Last year we celebrated our 6th anniversary in Cody, Wyoming, where we only realized it was our anniversary halfway through the day when I was signing a guest book at a museum and noticed the date at the top of the page.  I yelled out the door to where Jared and the boys were lassoing fake cows "Oh Jared, happy 6th anniversary."  That was it.  Six years.  Yeah!  Don't worry, we manage to show our love for each other in many other ways. It has been six wonderful years!


Anyway, today is Valentines Day, a day we have always neglected more even than our anniversary.  I think Jared has brought home flowers a few years, which I dearly appreciate, and once he made me macaroni with an octopus hotdog on top (loved it!), which we ate on our china, but that's about it.  This year I really put myself out there and made Jared these. 


Okay, the truth of the story is that I made ones just like these for Jared for Christmas two years ago.  He never wore them, for he lost them.  This year for Valentine's Day Jared actually made these himself. I did go out of my way to find and buy the supplies all over again for them, I just didn't get it together enough to put them together, so Jared did it for me.  Call it his Valentines gift for me!  Love, true love!

They are authentic old typewriter keys.  I bought the keys and the cuff link posts of Etsy and epoxied them together.  I just love the look of men in cuff links, and so have decided to start Jared collection of them off with some personal, pretty awesome ones. I think the next ones I make will be Lego or Scrabble pieces.

Happy Valentines all!

13 February 2011

A Baby Sweater, Finished at Last

Lately I have been making a concerted effort to finish projects before I start too many more.  This one I started while I was pregnant with Silas, and I got all the way through the body and halfway through one arm. 

Last week while I was teaching my sister-in-law how to knit I picked it up again and finished the first arm, knit the other and tonight I seamed it all together.  It really is darling.  Too bad for Silas, but at least my next child will be able to enjoy it! 


If you're interested I got the pattern from Knit Simple Magazine, Fall 2007, which I picked up on a sale rack for a buck.  Love it!

28 November 2010

The Super-est of Saturdays!

Anyone who grew up LDS most assuredly grew up surrounded by crafts which were crafted, once a year, on "SUPER SATURDAY."  It's an amazing phenomenon where Mormon women get together for an entire Saturday and craft, craft, craft!  Because it usually falls on a Saturday in November, most of the Super Saturday crafts are Christmas related.  This week we decorated my mom's house for Christmas, and as we opened up boxes and set out the decorations, I would easily say that more than half the decorations, dating back three or more decades, came from various Super Saturdays.  Here are a few:


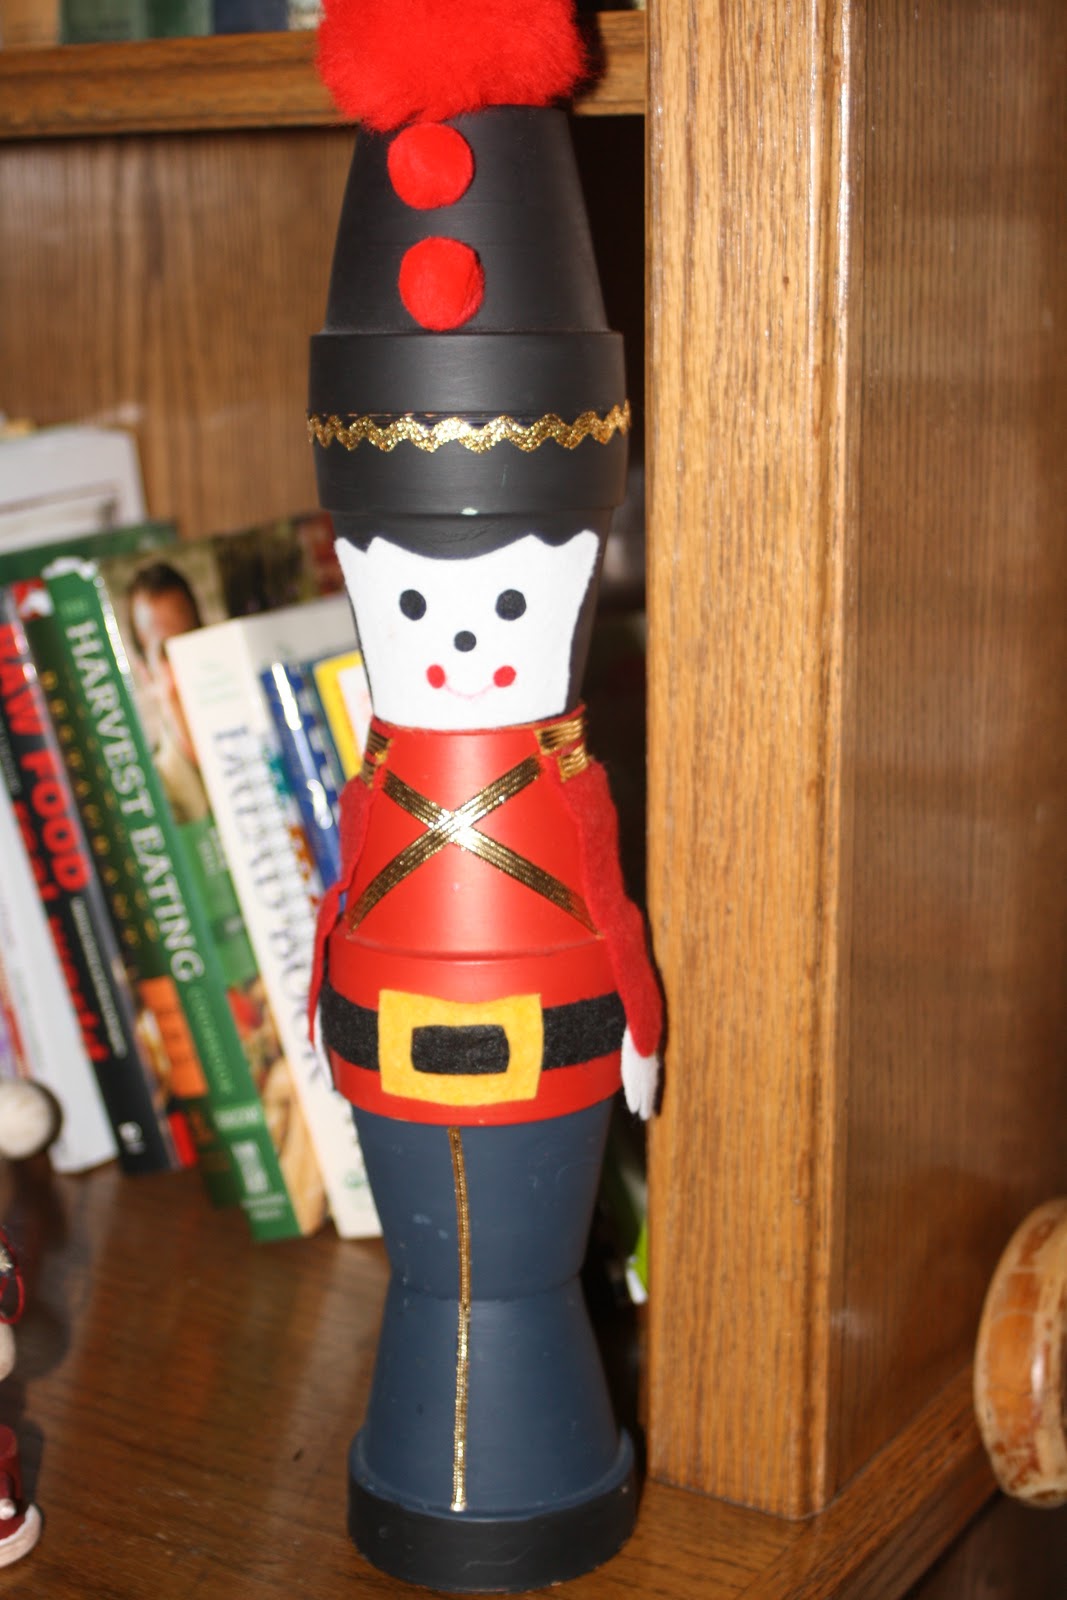
But, I have to admit, my very favourite Christmas crafts are these two (I've asked to get them when mom dies!)

Actually, maybe I will just have to figure out how to make them, and offer the class at next year's Super Saturday!

This year I finally started making something I've been meaning to for years.  Before you are too impressed, let me assure you that this was not the workings of my mind. My incredible friend Chelsea went way above and beyond to create this beauty, and I have merely enjoyed her labours!  So, while it is yet to be completed, here's the finished pieces of my Advent Calendar!
 The Wisemen, their Camel, and Egypt, which isn't actually to the east, but Mary and Joseph take baby Jesus there after Herod goes crazy and wants to kill all the babies.
 The earth; Jesus made it.  And John the Baptist.
 The shepherds and their sheep (remember how I love sheep? Well, these ones add to my love, they are so very cute!) Bethlehem and some townspeople. 
 Jerusalem, EVIL king Herod, Simeon and Anna (they are at the Temple when Mary and Joseph take Jesus there to be blessed.)
Angels heard on high, the star, the Angel Gabriel, Donkey, Joseph, Mary, and Baby Jesus. 

There you have it: proof of another successful Super Saturday.  Hopefully in 30 years my kids will still enjoy pulling this work of art out and reminiscing over the years it was used and loved.  I've only got a few more days to get it complete, and when I do I'll be sure to post.  Until then, happy Christmas crafting to all of you!
Related Posts with Thumbnails